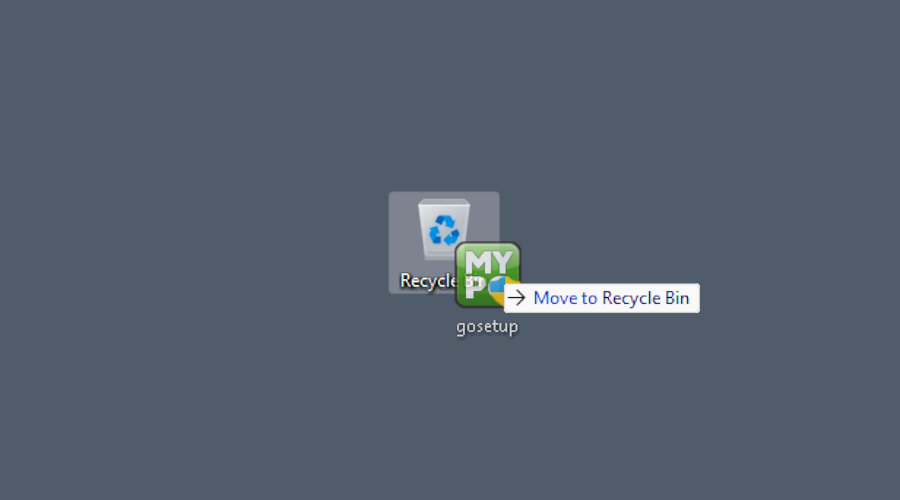
Did the GoToMyPC uninstaller fail to fully remove the app from your system? The uninstallation can be handled manually – and we can teach you how. Some of the components are hidden, but are readily accessible, as long as you have administrator rights on your system. We can recommend a free, portable remote access app as well – HelpWire Quick Connect – that doesn’t require installation, and can be removed by simply deleting the file.
What Can GoToMyPC Leave Behind?
Like many remote access apps, GoToMyPC requires a variety of processes, registry keys, and files to run on your system. While this is usually not the case, uninstalling GoToMyPC with the provided uninstallation file can leave some of these behind. You might also need this information if you lost the executable and want to remove the components manually. Luckily, most of them are accessible through Windows system tools.
How to Uninstall GoToMyPC Fully
-
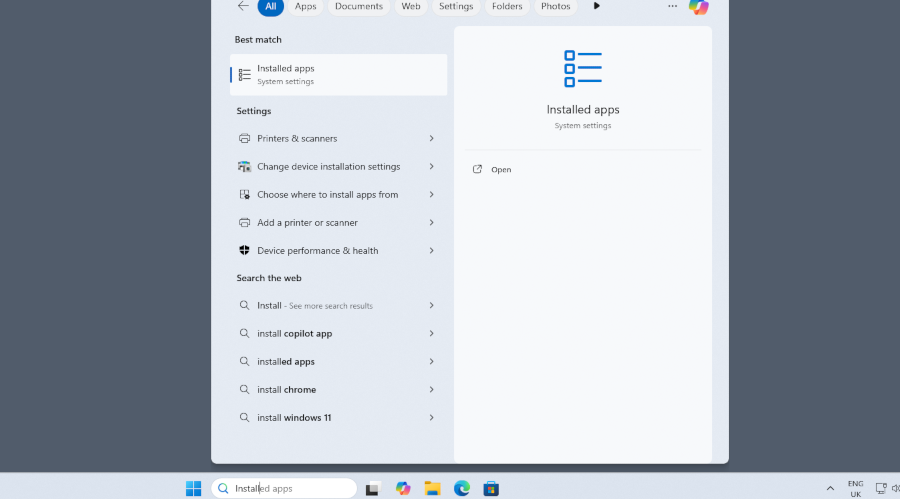
Use the official uninstaller first. Search for “Installed apps” and open the app menu.
-
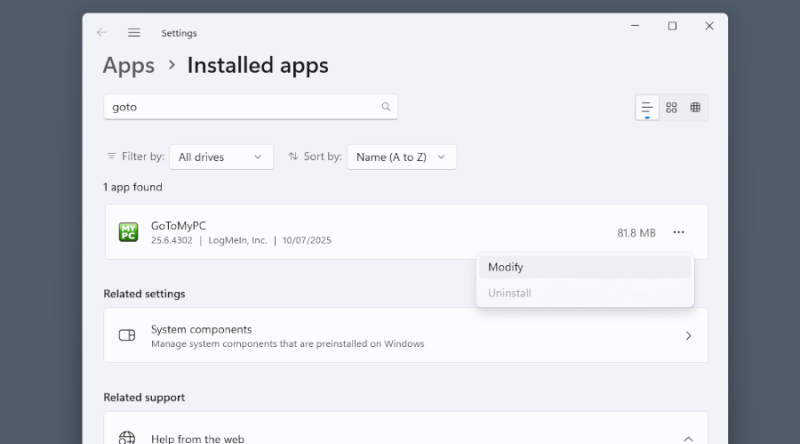
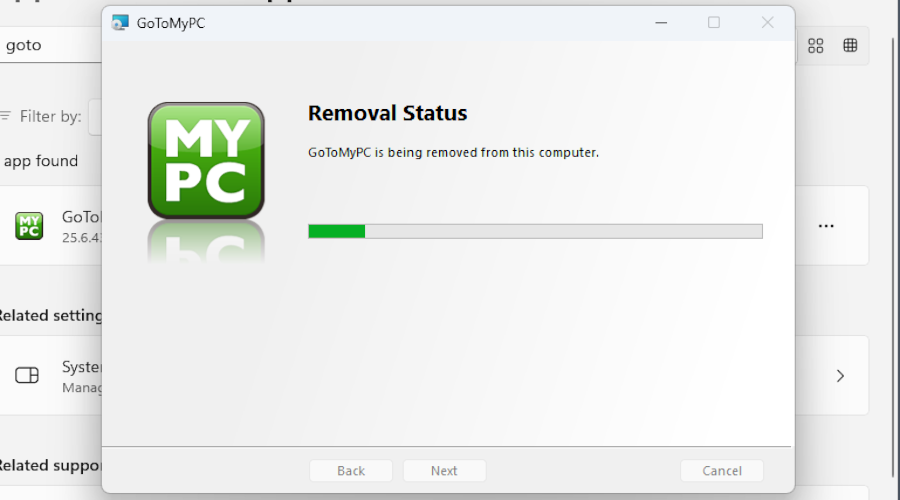
You will see the GoToMyPC “Uninstall” greyed out, but “Modify” actually opens the uninstaller, so click that.
-
Wait for the deletion process to finish.
-
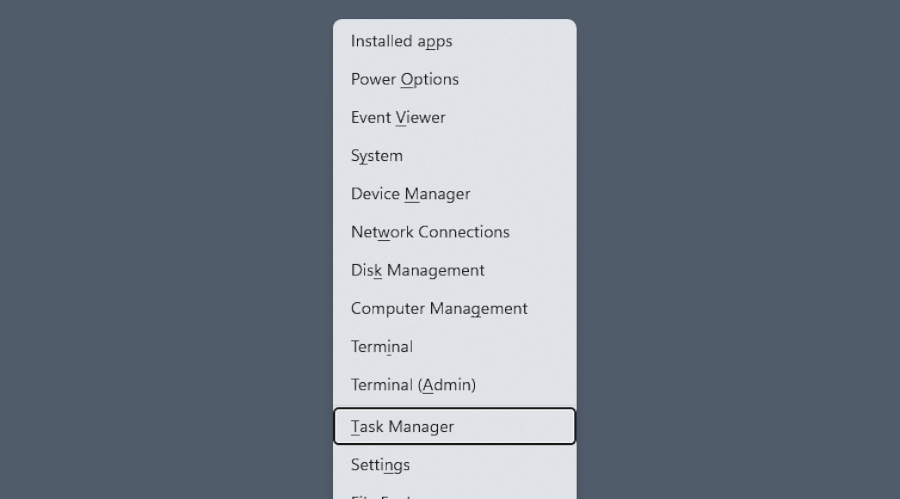
Before going any further, we suggest stopping all related tasks and services. Start by clicking Win+X and choosing “Task Manager”:
-
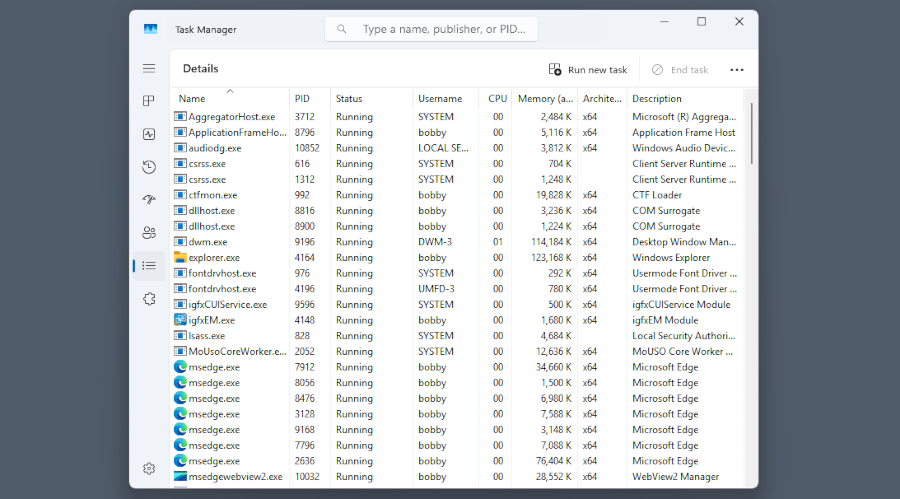
Go to the Details tab.
-
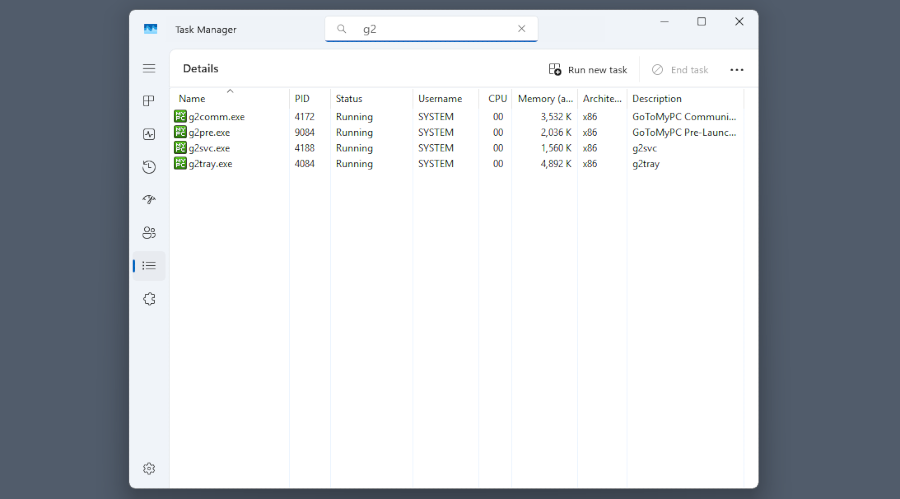
Search for “g2” and end all processes with this name. This way, they can not stop you from removing the app’s files.
-
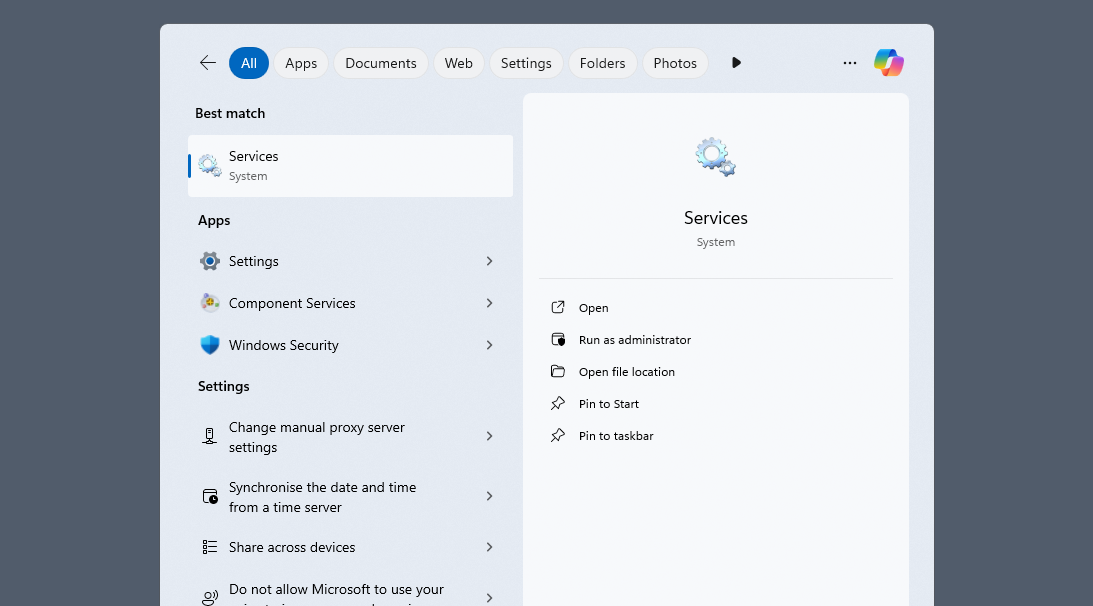
Search for and open Services.
-
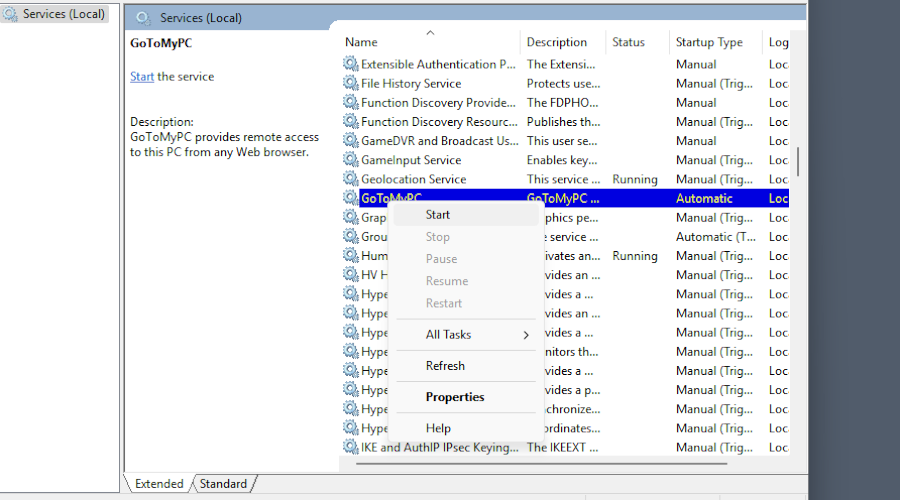
Find and stop the GoToMyPC service.
-
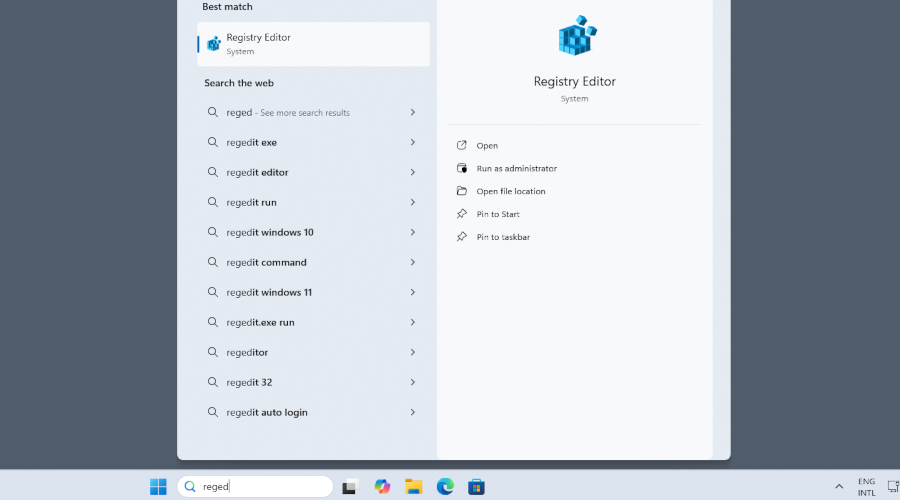
Open the Registry Editor by searching for “regedit”.
-
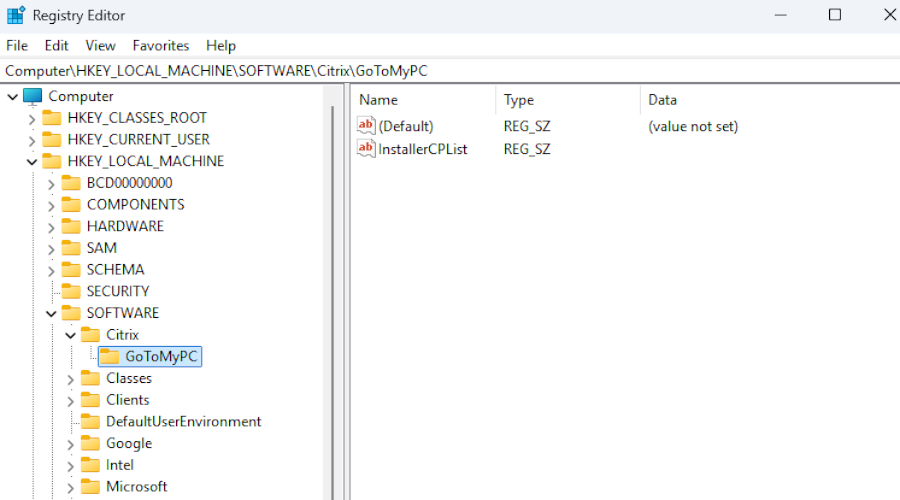
Delete the GoToMyPC key under “HKEY_LOCAL_MACHINE\SOFTWARE\Citrix”.
-
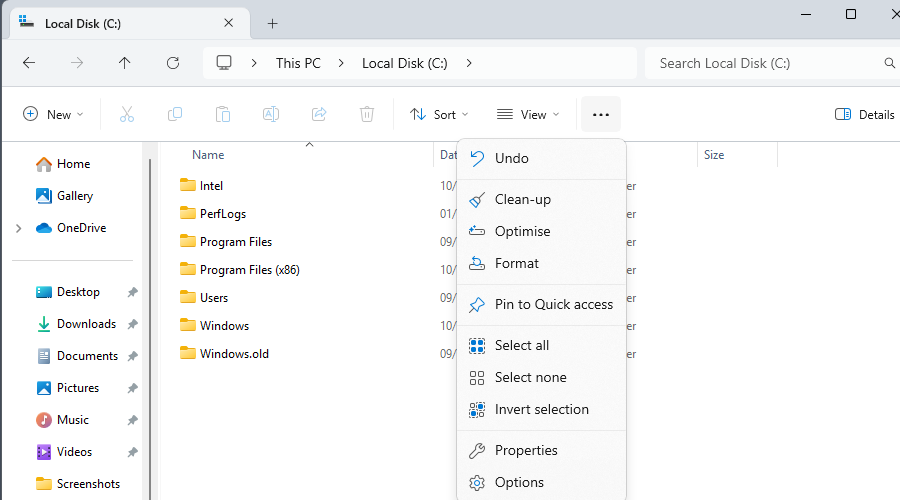
Finally, you can delete all the files. Open Explorer, click the ellipsis and select “Options”.
-
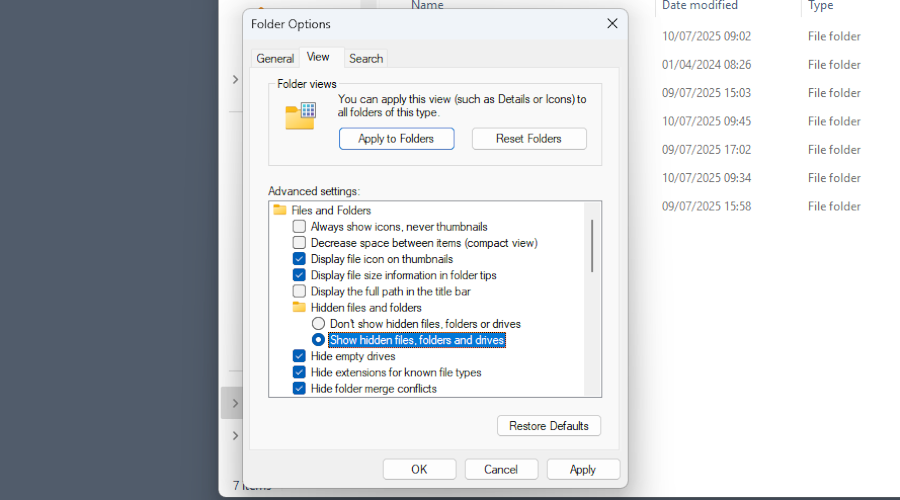
In the Folder Options dialogue, select the View tab and enable “Show hidden files, folders and drives”.
-
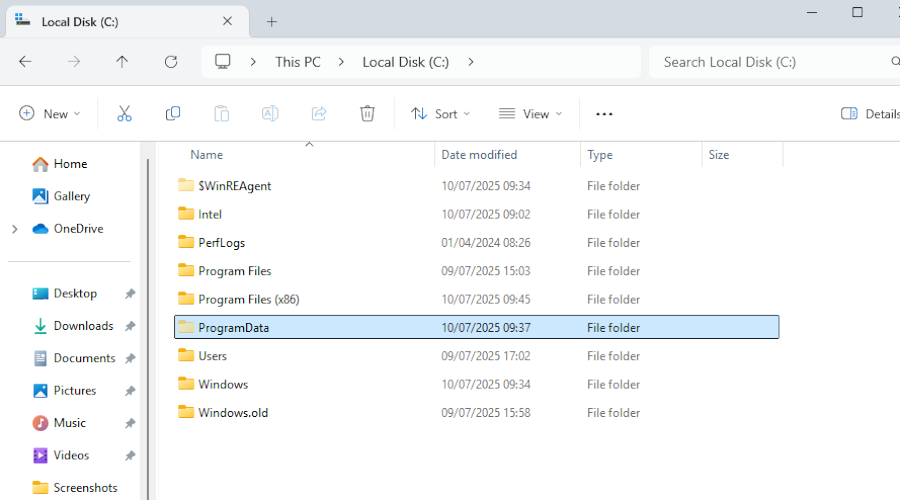
Navigate to your main drive. You can now see the hidden ProgramData folder.
-
GoToMyPC can have folders in Program Files, Program Files (x86) and the aforementioned ProgramData folder. Delete them.
You have now completed a thorough removal of GoToMyPC!
HelpWire Quick Connect - a Light Remote Access App
Do you want to try a remote access app that doesn’t leave a trace on your system? HelpWire Quick Connect has a portable, cross-platform client available for Windows, macOS, and Linux that you can simply launch without installing. In addition, it’s free, without the need to create an account to try it.
-
Multi-monitor support
-
Drag-and-drop file transfers
-
Minimal latency:
-
Connection quality options
But you can get even more out of it by creating an account, including connection history and unattended access. Try HelpWire today!
How to Get Started with HelpWire
-
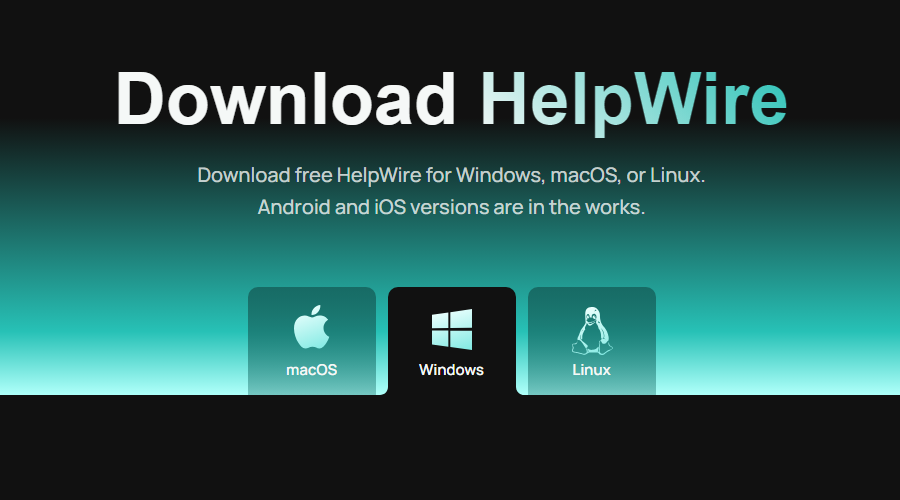
Download HelpWire on the guest machine.
-
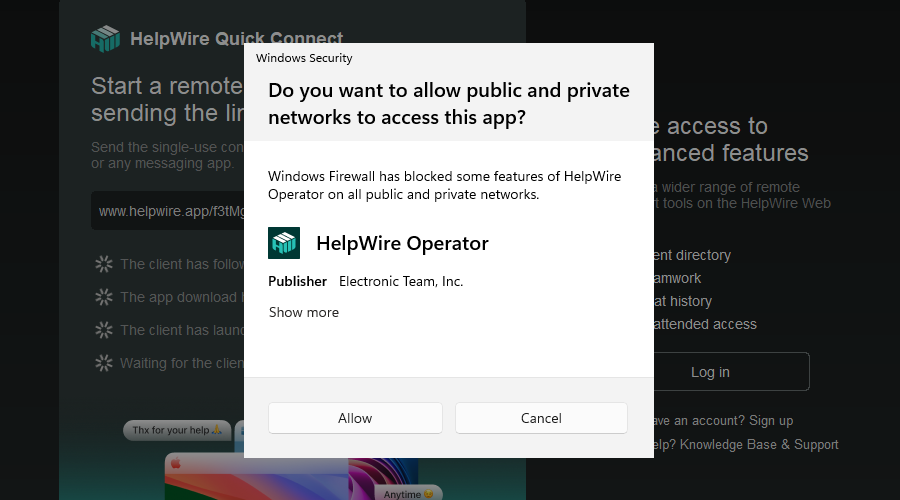
Start the app, let it through the Windows firewall.
-
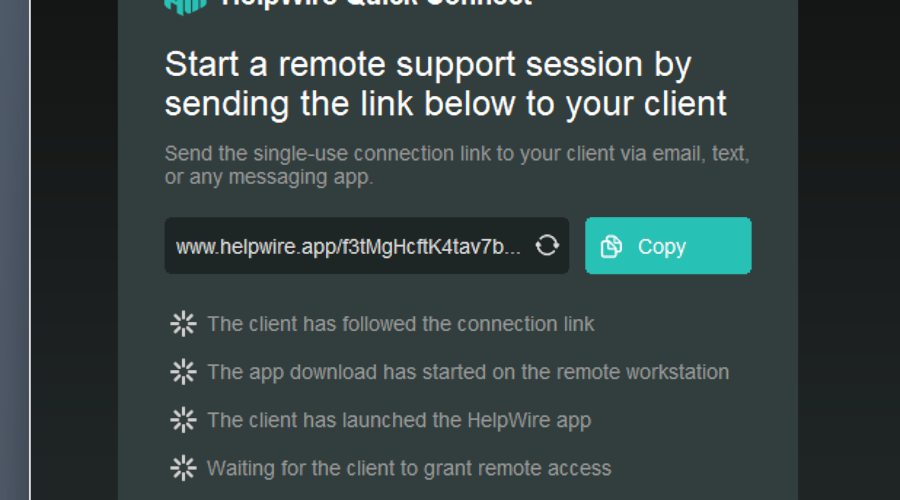
Copy the provided link and send it to the session host – the computer that will be remotely accessed.
-
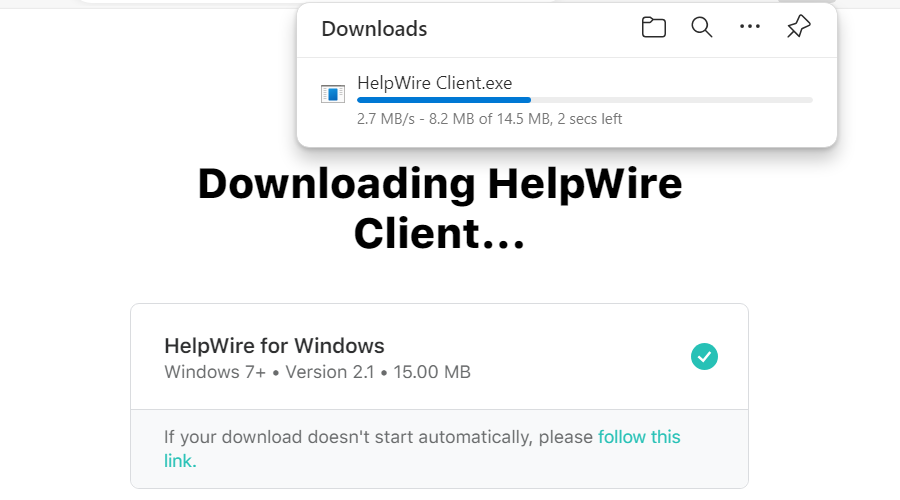
Open the link on the host computer to download a one-time HelpWire app just for that session.
-
Launch the app and allow the guest to connect.
