How to Remotely Install Software on Multiple Computers
Remote software installation on multiple computers simultaneously allows you to save human resources, time, and effort. Choosing a solution that suits your business and needs the best is therefore important.
In this post, we’ll cover different approaches on how to install software on multiple computers at the same time. These methods include using Microsoft SCCM, RSAT, Group Policy Management Tools, third-party apps, and remote desktop control tools like HelpWire. Read on to discover how to use them below.
Before delving into the tips, consider trying HelpWire — it could save you both time and effort. Offering seamless on-demand and unattended access to Windows, macOS, and Linux systems, HelpWire is perfect for managing remote desktops, laptops, and workstations. With an easy setup, you can quickly connect and ensure smooth, efficient remote management every time.
Install Software Across Computers on a Large Network Using Microsoft's System Center Configuration Manager (SCCM)
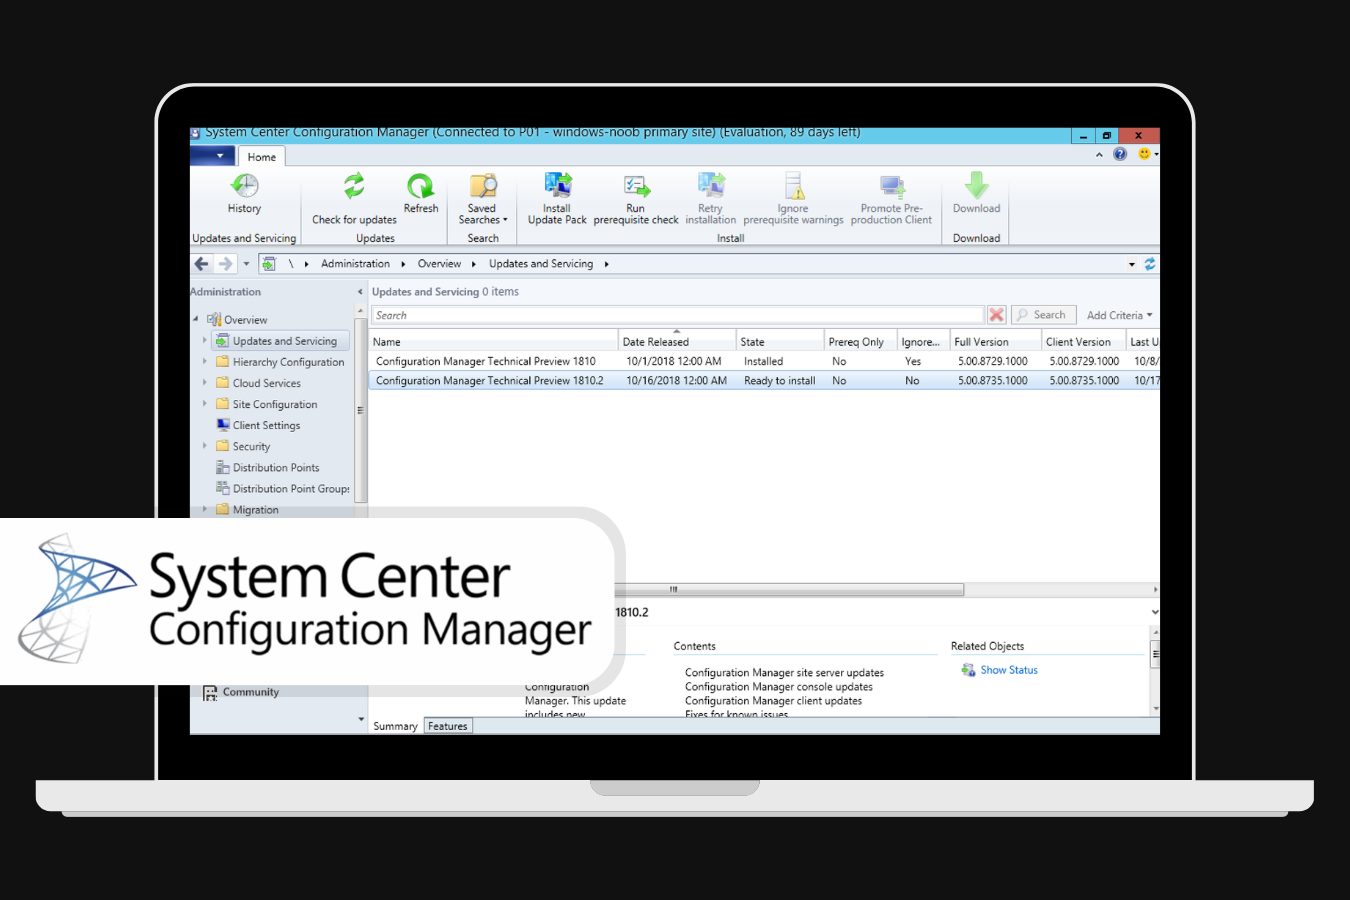 When installing multiple programs on large networks of thousands of computers, use Microsoft System Center Configuration Manager (SCCM).
• Windows 10 and 11 64-bit Pro and Enterprise editions
• Windows Server 2016, 2019, and 2022 (at least version 2107) Standard and Datacenter editions
•At least .NET Framework version 4.6.2 (Microsoft recommends version 4.8)
-
To get started, open the Configuration Manager console.
-
On the left pane, navigate to Software Library and expand the Applications Management drop-down. From the options provided, choose Applications. You can also select Application Groups instead.
-
In the ribbon, click the Home tab and choose Create an application in the Create group. This will open the Create Application wizard.
While there’s an option to manually enter the app’s details, we recommend you opt for automatic detection. Do this by selecting Automatically detect information about this application from installation files in the General tab. You can add more specific details as necessary later.
-
After that, click the Type drop-down menu and choose an application type, such as Windows Installer (.msi). Enter the installation file in the Location field.
-
In the Import Information section, check the detected information and choose Next.
-
Next, in the General Information section, you’ll see several fields about the app’s information. They should already be filled since you chose automatic detection. Choose Next.
-
Review your options on the Summary page and click Next once done. Close the wizard.
-
Back to the Applications section, you should now see your newly created app on the list. Select the application and click Deploy in the ribbon.
If you have chosen the application deployment to be required, the app will be forcefully installed on the remote computers. Alternatively, the end users can install the available deployments via the Software Center.
Console Setup Installation Files
When you install the site server for Configuration Manager, you usually find the console installation files in two subfolders:
- • Tools\ConsoleSetup
- • \SMSSETUP\BIN\I386
We recommend that you proceed with the installation process from the ConsoleSetup folder. This way, you can ensure that the local version of the site also gets updated every time the live version ushers in new changes.
How to Install Configuration Manager Console
On your computer, navigate to [Configuration Manager site server installation path]\Tools\ConsoleSetup. Once there, right-click ConsoleSetup.exe and choose Run as administrator from the right-click context menu.
This will open the Configuration Manager Console Setup wizard. After that, click Next.
In the Site Server section, click the Site server name text field and type your fully qualified domain name (FQDN). Click Next.
In the Installation Folder section, click Browse and choose your preferred location. Click Next.
Finally, in the Ready to Install section, click Install.
You can now use Configuration Manager to install software on multiple computers remotely. Find more information about this on the official Microsoft Learn page.
Install Software on Multiple Computers Remotely with Remote Server Administration Tools (RSAT)

Remote Server Administration Tools (RSAT) allows IT administrators to manage roles and features on Windows servers remotely from a client. It doesn’t directly install or deploy software to your computers, but it provides the tools for managing your servers, which is important for remote installation.
It works on the Pro and Enterprise editions of Windows 10, Windows 7 Service Pack 1, and some versions of Windows 11. If you meet these requirements, here’s a quick guide on how you can enable RSAT.
Enable RSAT Using Settings
Go to Settings and navigate to Apps > Optional features. Once there, click the View features button to Add an optional feature.
Using the search bar provided, type RSAT. After that, select the tools that you want to enable from the search results and click Next.
Review the install summary on the next page and click Install.
Enable RSAT Using PowerShell
Launch PowerShell with administrator access. Then, run the following command:
Get-WindowsCapability -Name RSAT* -Online | Select-Object -Property Name, DisplayName, State
This will display all RSAT features that you can install. Get the name of the tool that you want to enable, such as Rsat.ActiveDirectory.DS-LDS.Tools~~~~0.0.1.0. Then, run this command:
Get-WindowsCapability -Name ‘Rsat.ActiveDirectory.DS-LDS.Tools~~~~0.0.1.0’ -Online | Add-WindowsCapability -Online
Change the tool name indicated as necessary.
Using RSAT Tools
As mentioned, RSAT doesn’t allow you to directly deploy software to your remote servers and computers. Instead, you can use the tools that come with it to achieve your results.
Some of these tools include the Group Policy Management Tools, Server Manager, Active Directory, and even PowerShell. The specific steps would vary depending on the tool you use. We’ll cover two of them in the following sections, including software deployment via Group Policy and using PowerShell installation scripts.
You can find out more about RSAT through the official Microsoft documentation.
Deploy Software to Multiple Computers Through Group Policy

You can use Group Policy to assign and install software across computers on a large network. Assigning software packages means that they’ll be forcefully installed on the remote computer without requiring the end user’s approval.
Here’s how you use Group Policy for software deployment.
Step 1: Make a Distribution Point
-
Sign to the server that you’re managing as an administrator. Make sure that this is an all-accessible server for your target users.
-
Once you’re on the server, launch File Explorer and create a new folder. Then, right-click the folder and choose Properties from the context menu.
-
In the Properties window, go to the Sharing tab and click Advanced Sharing.
-
Next, in the Advanced Sharing dialog, toggle the checkbox of Share this folder. Under Settings, specify a share name and user number limit. Then, click Permissions.
-
In the Permissions dialog, under Group or user names, add or remove the entities you want to share the software with. Make sure to click only the checkbox for Read under the Allow column. After that, click OK and go back to the Properties window.
-
Switch to the Security tab. Click Edit.
-
This will open another Permissions window. Under Group or user names, add the people you added earlier and choose Read & execute, List, and Read for their access. Then, click OK and apply all changes.
-
Back to the Applications section, you should now see your newly created app on the list. Select the application and click Deploy in the ribbon.
Add the Windows Installer files to your new folder.
Step 2: Create a GPO for Deployment
-
Launch Active Directory Users and Computers. From the console tree on the left, right-click an organizational unit (OU), choose Create a GPO in this domain, and Link it here from the context menu.
-
In the New GPO window, enter a name for your object and click OK.
Step 3: Assign a Package
-
In the console tree, right-click your newly created GPO and choose Edit. This will open the Group Policy Management Editor.
-
From the left pane, expand Computer Configuration, right-click Software Installation, and choose New > Package.
-
In the Open dialog, click the file path bar at the top and enter the full Universal Naming Convention (UNC) path of your installer. Then, click Open.
-
In the Deploy Software dialog, choose Assigned and click OK. You’re good to go! The package will automatically be installed on the remote computer once the end user logs in.
For advanced options, we recommend you visit Microsoft’s documentation about Group Policy.
-
In the Permissions dialog, under Group or user names, add or remove the entities you want to share the software with. Make sure to click only the checkbox for Read under the Allow column. After that, click OK and go back to the Properties window.
-
Switch to the Security tab. Click Edit.
-
This will open another Permissions window. Under Group or user names, add the people you added earlier and choose Read & execute, List, and Read for their access. Then, click OK and apply all changes.
-
Back to the Applications section, you should now see your newly created app on the list. Select the application and click Deploy in the ribbon.
Add the Windows Installer files to your new folder.
Utilizing Third-Party Bulk Installation Tools
If you find the previous methods to install software on multiple computers remotely too technical, you can always use a third-party utility that offers simplified steps. For example EaseUS Deploy Manager.
EaseUS Todo Backup and Deploy Manager
EaseUS offers two different tools to deploy software to multiple computers remotely. However, instead of just distributing the software packages, you need to deploy the whole operating system, along with the programs installed inside it. Here’s how it works in general:
You start by creating a backup image of your whole Windows system using EaseUS Todo Backup. Then, you need to make a deployment group in EaseUS Deploy Manager by adding the MAC addresses of the computers in your LAN. Once done, you can now deploy the backup image to the connected computers.
• A Microsoft Dynamic Host Configuration Protocol (DHCP) server
• All computers should be in the same Local Area Network (LAN)
• The PXE Server must be enabled via the EaseUS Deploy Manager
Creating Custom Installation Scripts for Remote Software Installation on Multiple Computers
-
First, launch PowerShell with administrator permissions. Set up PowerShell for remoting by running this command:
Enable-PSRemoting -Force -
Then, start a new remote session and retrieve the installer file from the shared location using the following syntax:
$installerFile = ‘\\fileserver\share\installer.exe’\$computerName = ‘Server01’$remoteSession = New-PSSession -ComputerName $computerName -
You need to pre-copy the installer file to your remote computers. You can do this by running the following commands:
Copy-Item -Path $installerFile -ToSession $remoteSession -Destination ‘c:\windows\temp\installer.exe’ -
You might need to repeat this step per computer as the Copy-Item command doesn’t work for multiple sessions at a time. After copying the file over, you can now run an Invoke-Command to remotely run the installer.
Invoke-Command -Session $remoteSession -ScriptBlock {c:\windows\temp\installer.exe /silent}Remove-PSSession $remoteSessionYour software program should be installed. Copying the file over allows you to resolve authentication issues on the remote server. It also allows you to send the installer file in the same interface. Meanwhile, if the installer file is already present on the remote computer beforehand, you can shorten the process to this command:
Invoke-Command -ComputerName $computerName -ScriptBlock {Start-Process c:\windows\temp\installer.exe -ArgumentList ‘/silent’ -Wait}
Deploy Software to Multiple Computers with Remote Desktop Control Software
Another option is to use remote desktop software to manually install applications across multiple devices. This involves accessing and controlling remote desktops to open the Microsoft Store or download installation files directly.
Among many remote desktop tools available, HelpWire stands out as an excellent free choice for small and mid-sized businesses. Supporting Windows, macOS, and Linux, HelpWire offers both on-demand and unattended access, along with advanced features that make it ideal not only for remote support but also for managing software installations on multiple computers.
Why Choose HelpWire?
✅ Cross-Platform Compatibility – Effortlessly connect to Windows, macOS, and Linux devices.
✅ Unattended Access – Securely control remote machines even when no one is present on the other end.
✅ File Sharing – Transfer files seamlessly with simple drag-and-drop functionality.
✅ Robust Security – Safeguards all connections with AES-256 encryption, permission-based access, and secure HTTPS/WSS protocols, backed by reliable data centers.
Conclusion
Despite the immense benefits, installing software programs on multiple computers remotely can be a tricky task. Unless you’ve got dedicated IT personnel or have the foundation to do technical tasks, we recommend you stick to graphical methods like using the HelpWire app for manual installation.
For large networks, it’s best for you to use either the Configuration Manager or the Group Policy Management Tools to deploy your software programs. These two tools provide precise controls on how you want to disseminate your applications, which can be very important in maintaining security in terms of access.