How to Request Remote Assistance in Windows 10
This blog is dedicated to the most critical aspects of using the Windows Remote Assistance app on a Win 10 machine, i.e., how to send an invitation to a remote helper and what system properties you’ll have to change to make this work.
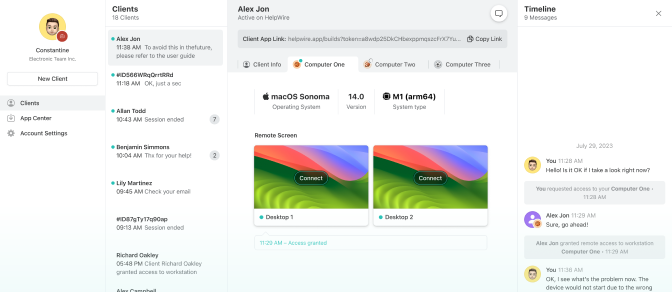
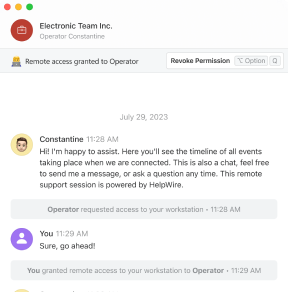
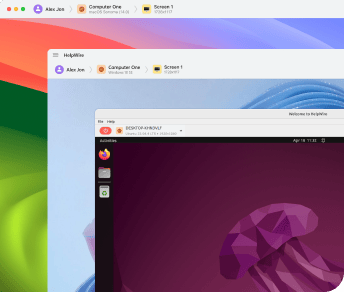
Tip: If you’d like to try a simpler and much more efficient way of providing remote assistance to your work clients or family members, skip to the section showing how easy it is to connect to a remote computer with HelpWire.
How to enable Remote Assistance
Before we even start on all the different ways of launching the app, you’ll need to get some remote helper to fix tech problems on one of your computers, let’s make sure that remote connections to your PC are even allowed.
- Hit Win+Pause (Break) on your keyboard to invoke the System Properties window, then click the Remote Settings link on the left-hand pane.
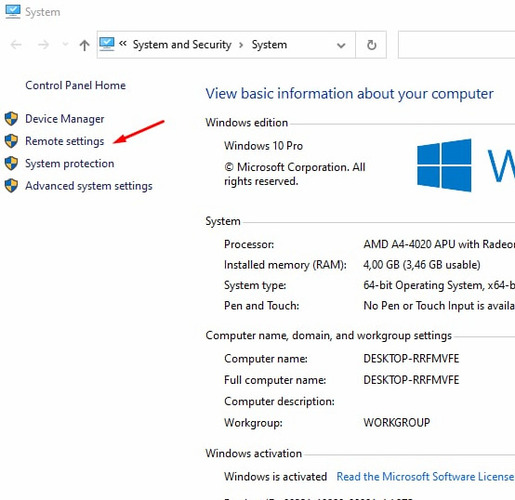
- Tick the Allow checkbox and click OK.

Note that you’ll need to do that from the Administrator account. If you don’t have access to it, just ask your company’s system administrator to do that for you.
In some cases, you may also need to add a new rule to firewalls on both your and your assistant’s computers, or else said firewalls would just block all remote connection attempts, no matter the system settings.
How to find the Remote Assistance app
In Windows 10, there are several different methods of launching the Remote Assistance app. Some are new, while others have been around since Win XP times. You can check how to launch a Remote Assistance app in Windows 8.
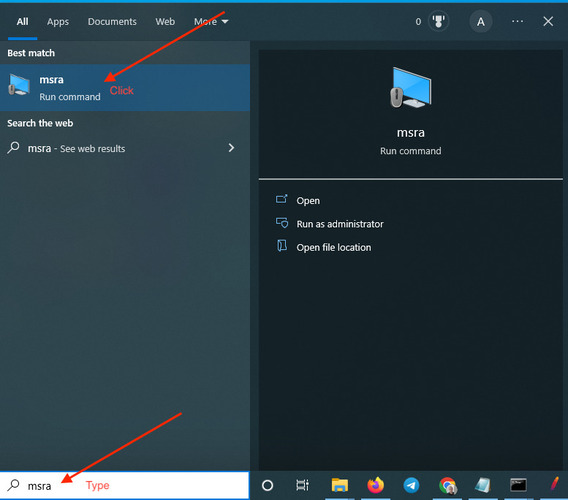
Option 1: Search for the file name “msra” using the search box on the taskbar.
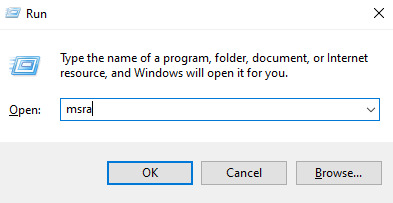
Option 2: Hit Win+R on your keyboard, type msra.exe, and press Enter. This one is also known as the Windows 10 remote assistance command.
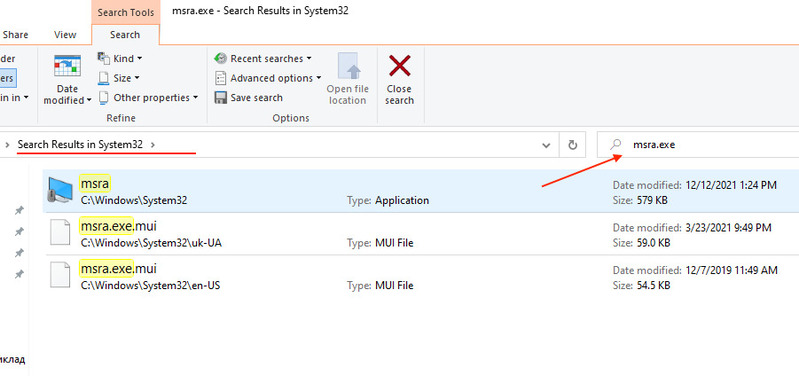
Option 3: Go to your System32 folder and input “msra.exe”. Then, double-click the file name.
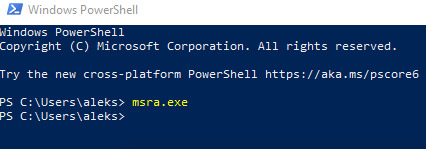
Option 4: Open Windows PowerShell from the Start menu. After that input msra.exe and hit Enter.
Option 5: Open Control Panel. Input remote in the search box, and choose “Invite someone to connect to your PC and help you, or offer to help someone else”.

Now that we’ve launched the application, it is time to send out some remote assistance requests in Win 10. You can also follow the detailed instructions to request remote assistance in Windows 7.
How to ask for help via Remote Assistance
Once you’ve launched Windows Remote Assistance, choose “Invite someone to help you.”

There are several different ways how to ask for help with Remote Assistance. Choose one of the following options:

Generate remote assistance invitation file
The most popular way to use remote assistance on Windows 10 is to choose “Save invitation as a file”.
To get help:
- The Remote Assistance application automatically generates a .msrcincident invitation file that you’ll need to pass to whoever you want to cope with your tech problems.
- Choose a place to save the file.
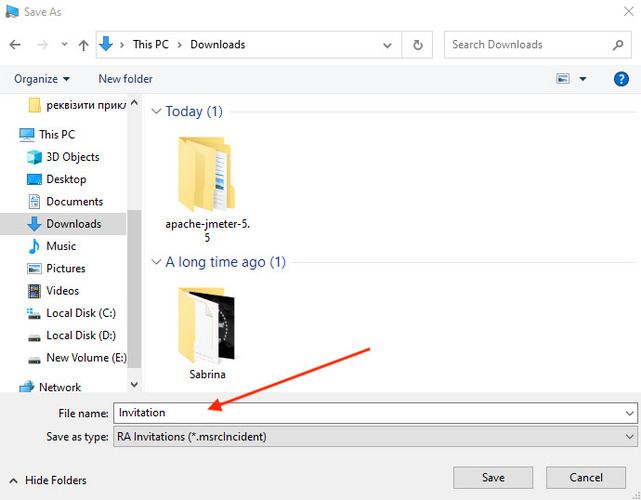
- Windows Remote Assistance shows you a password. Send the .msrcincident invitation file and the given pass to the person or the technician who is going to connect to your Windows 10 PC to help you. Sure thing, you can send that invitation file via Skype, Snapchat, Zoom, or whichever other messenger you prefer. Don’t close the window with the pass, otherwise the session will end.

Offer to help after receiving the invitation:
- Type remote assist in the search box and then choose “Invite someone to connect to your PC and help you, or offer to help”.
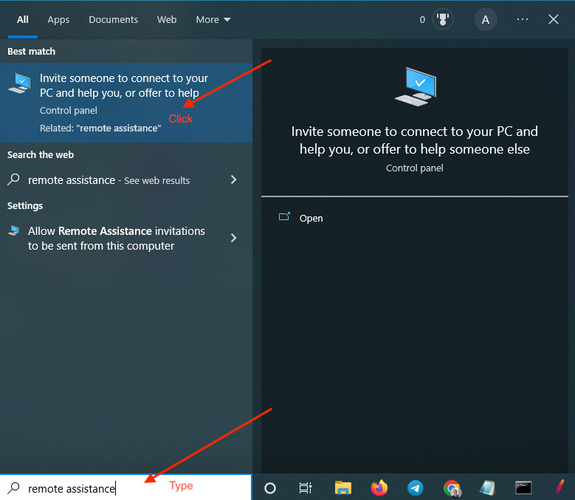
- Click “Help someone who has invited you”.
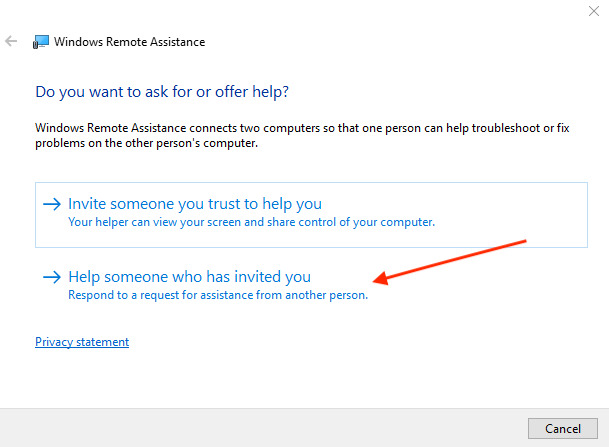
- Choose “Use an invitation file” and select the invitation file.
- Input the password given by your partner.
- Click OK. That’s it, now you can control the desktop using Remote Assistance.
Remote assistance invite via e-mail
The easiest way to send a remote assistance invitation on Windows 10 is via email. If you have a mailing software tool installed, RA will even create a message for you with the necessary file already attached to it. So, all you have to do is choose “Use email to send an invitation”. The only thing you’ll need to include manually is the password.
Easy Connect option
If on both your and your assistant’s machines, the Easy Connect option is active, go for it.
- First, choose it on your computer to generate a one-time session code. Mind that with this option, the application won’t send any sort of remote assistance invite automatically. That means you’ll have to use your favorite messenger to contact your assistant and pass them the session code.
- Hit the well-known ‘panic key,’ i.e., Esc, whenever you need to terminate the session.
A little fun fact here: if your screen’s resolution is smaller than that of your assistant’s, they will see your screen in a tiny window. Pressing the “Fit to screen” toolbar button won’t take any effect. If that’s your case, pass these simple instructions to your remote assistant:
1. Press Ctrl+Alt+Break on your keyboard to try and switch to the full-screen mode.
2. Didn’t work? In that case, hit Esc on your keyboard to terminate the session.
3. Set your screen resolution to match your helpee’s screen.
4. Restart the remote assistance session.
Requesting remote assistance via Quick Assist
- Contact your assistant via any messenger if you like to schedule a suitable session time.
-
Launch Quick Assist on both your and your assistant’s PCs. To do that, search for Quick Assist using the search box on the taskbar.
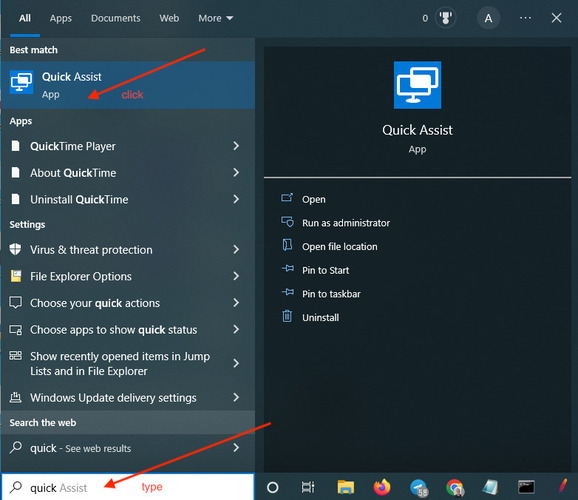
- Ask your assistant to generate a one-time session code and send it to you.
-
Enter the code into the corresponding field in the program and click the Share screen button.
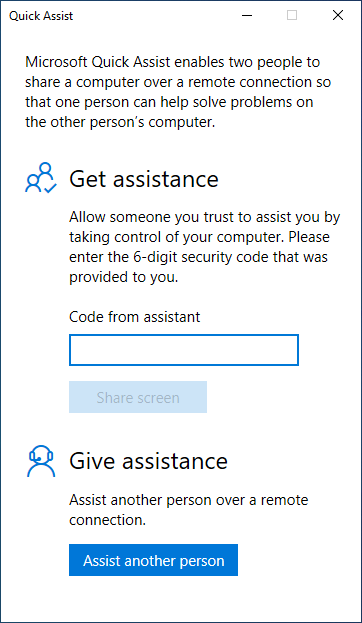
- You’ll be prompted to confirm whether or not you want to allow the session. Do read this screen very carefully to ensure the connection request came from the right person and they’ve chosen correctly between the View Screen and Full Control options.
You can terminate the session at any moment by clicking X on the Quick Assist toolbar.
Final words
This guide has delved into the essentials of Windows 10 Remote Assistance, providing insights on how to effectively utilize this feature for remote tech support. From enabling remote connections to navigating various methods of sending assistance requests, the article equips users with the knowledge needed for smooth remote interactions. Whether it’s traditional methods or exploring alternatives like HelpWire for an even more streamlined approach, this guide covers all bases to ensure efficient remote support.
