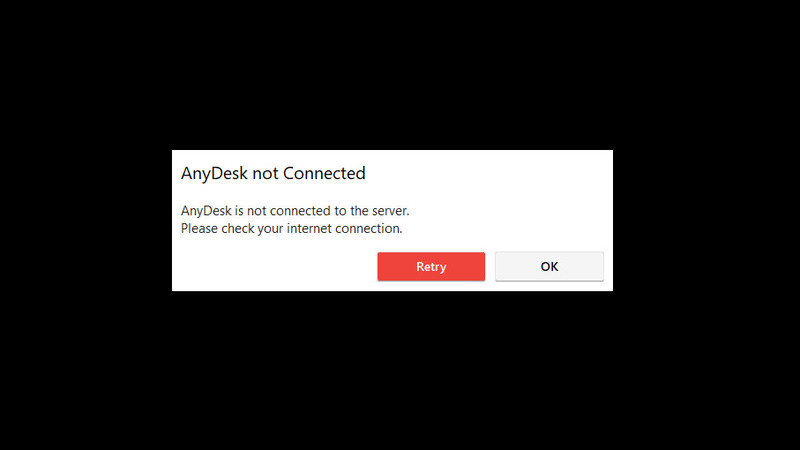
The “AnyDesk not connected to server” error message (also shown as “Disconnected from the AnyDesk network) is usually related to issues with your connection. For instance, if you’re completely disconnected from the Internet, that’s the first message you’ll get. However, if other online applications work and you still have AnyDesk not connecting, then the issue may require one of the following fixes, or an alternative remote desktop solution like HelpWire.
Bypass AnyDesk Issues with HelpWire
HelpWire Quick Connect supports multiple monitors and simple file transfers. It also provides image quality options, in case you’re on a slower network. HelpWire Quick Connect is completely free and does not require you to sign in – just download and start using it!
How to Use HelpWire
-
Download HelpWire Quick Connect on the computer that will connect to the remote host.
-
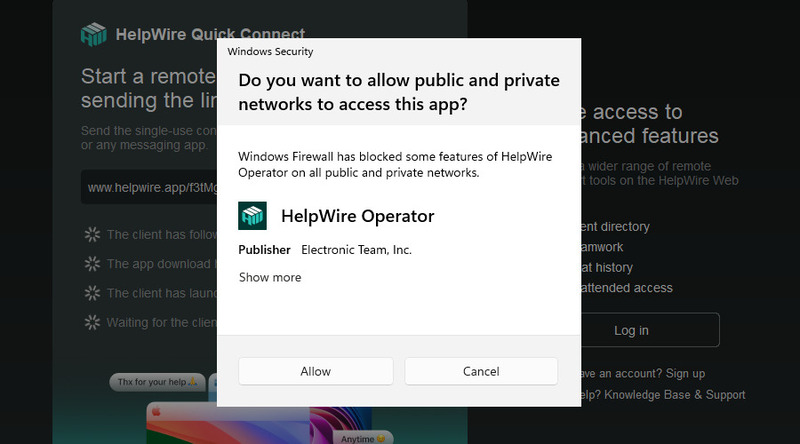
Run the app and allow it through the Windows Firewall.
-
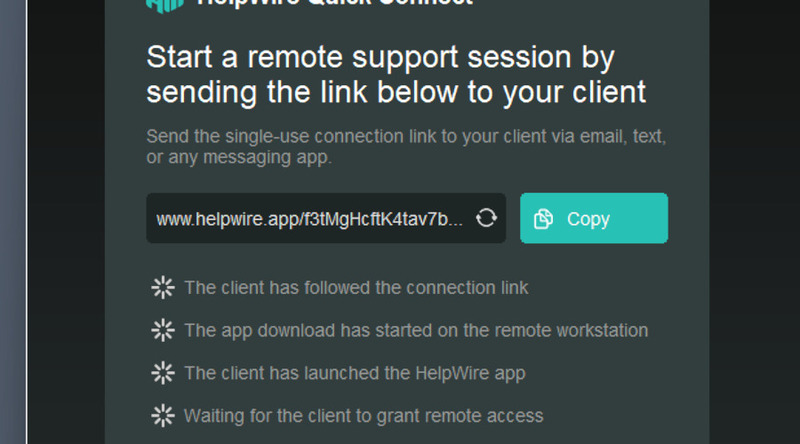
Copy the session link and send it to the host.
-
On the host machine, open the link to download a temporary, single-use client.
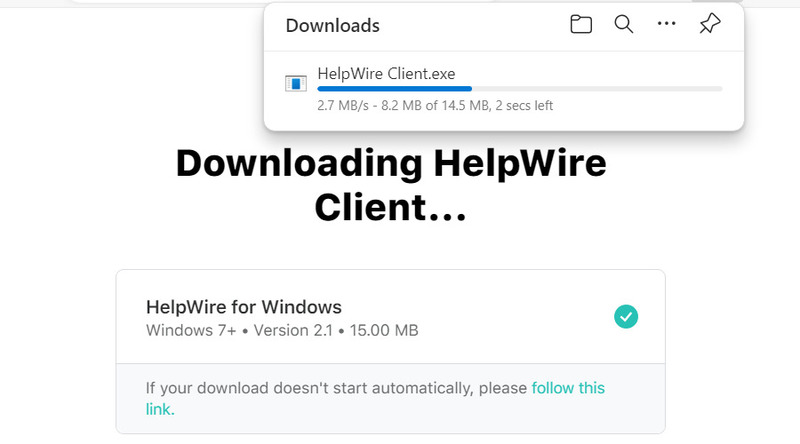
-
Run it and let it through the Firewall as well.
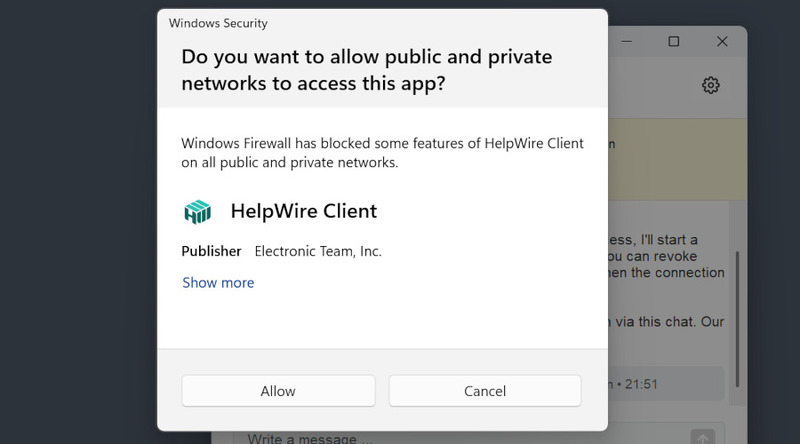
-
Grant access to the remote operator.
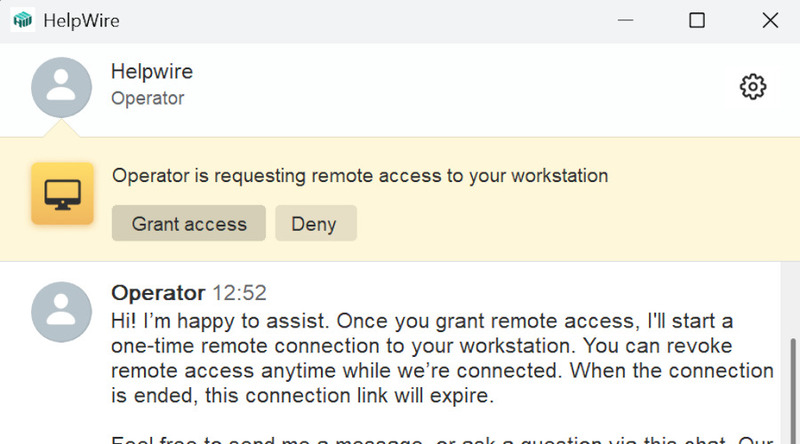
Your HelpWire session has started, enjoy!
Windows Firewall Settings
AnyDesk requires firewall access, especially if you’re using it on a public network. It could not connect if the access is denied. You’ve likely seen it request access when starting a session. If you declined the request, or would like to review the settings and make sure that you granted AnyDesk full permissions, here’s how you do it. It’s a common way to fix AnyDesk errors.
-
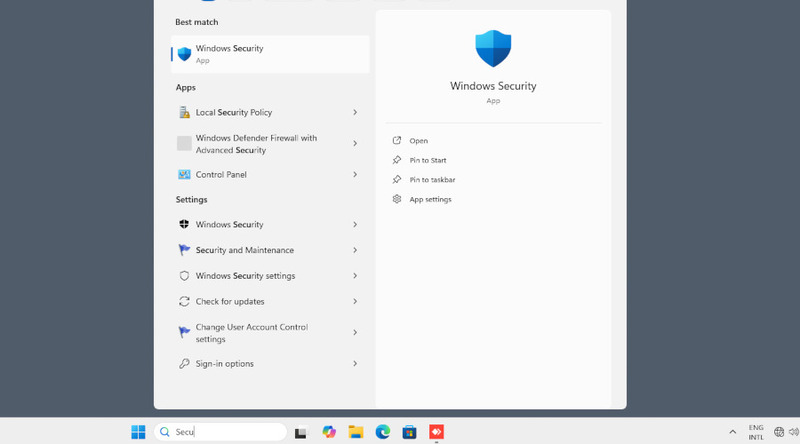
Type “Security” into the Search Bar and open Windows Security.
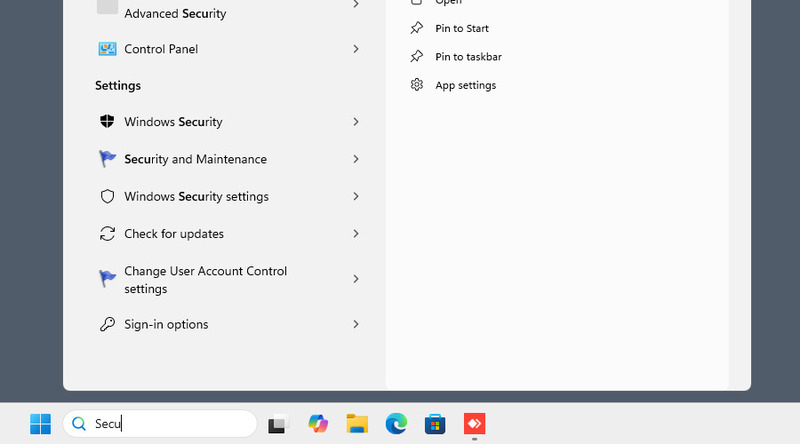
-
Select “Firewall & network protection”.
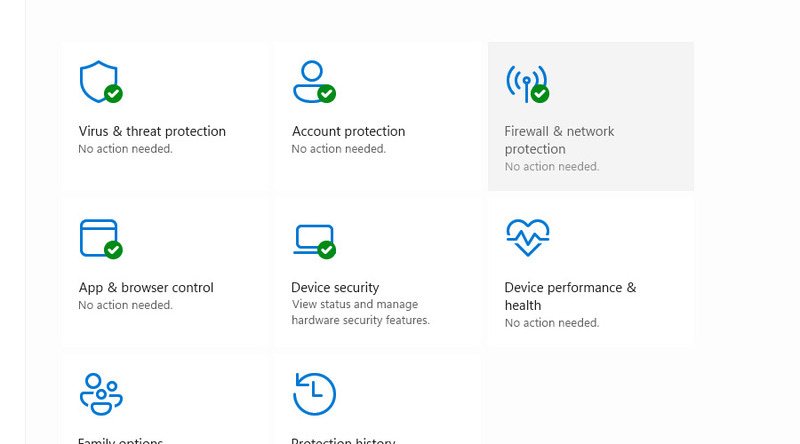
-
Select “Allow an app through the firewall”.
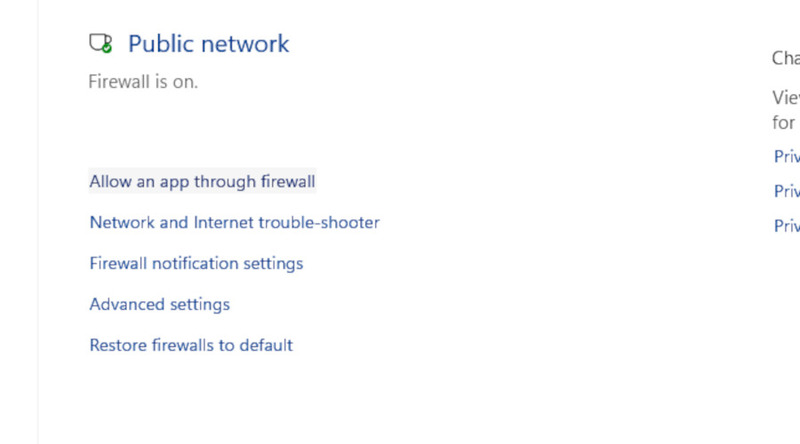
-
Find AnyDesk. Enable the checkmark to the left of the app’s name and under “Public”, and confirm the choice.
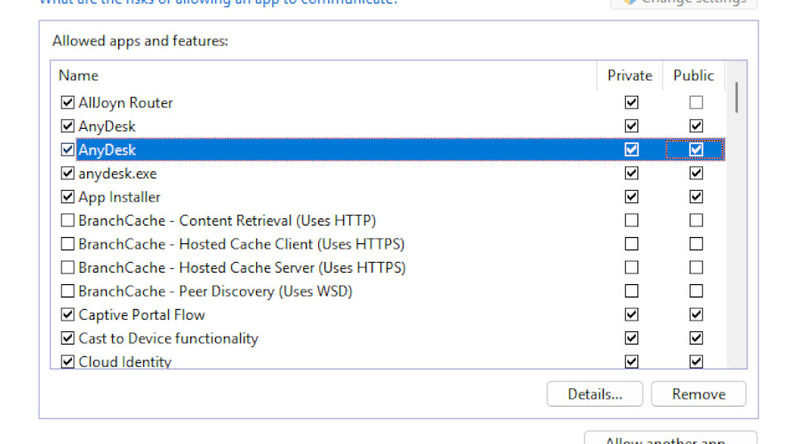
Synchronize Time and Reinstall
By synchronizing your time with an online clock, and reinstalling the application, you’ll be solving two problems – AnyDesk relies on global time, and you can also make sure that your version is the newest, since support for older versions is gradually being dropped and an older AnyDesk won’t connect to the main servers.
-
Press the Windows button and select “Settings”.
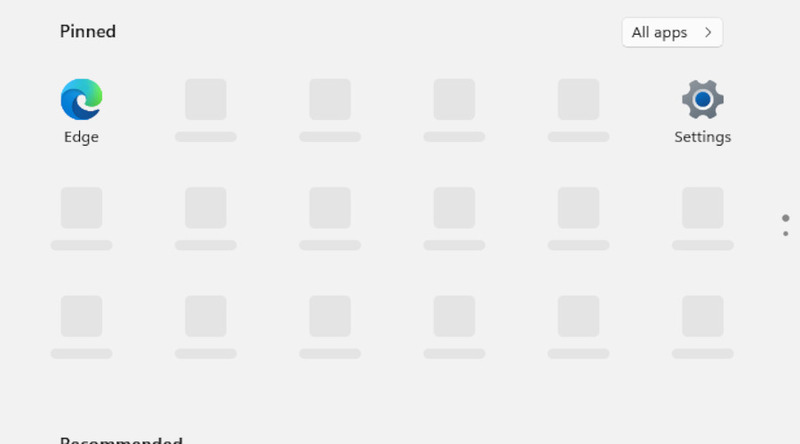
-
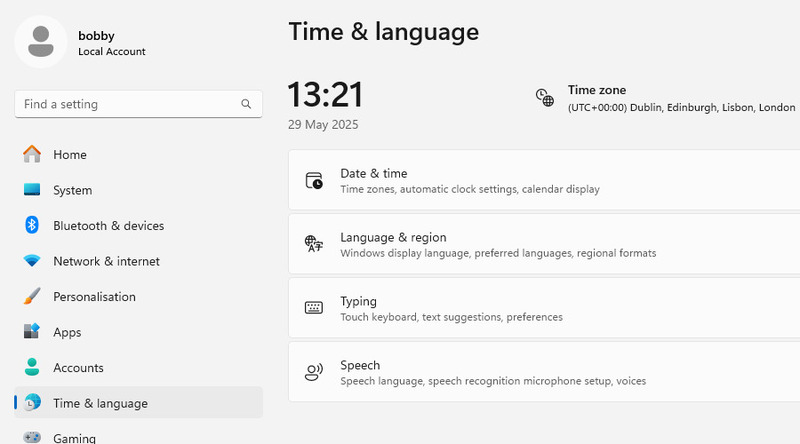
Go to “Time & language”, then “Date & time”.
-
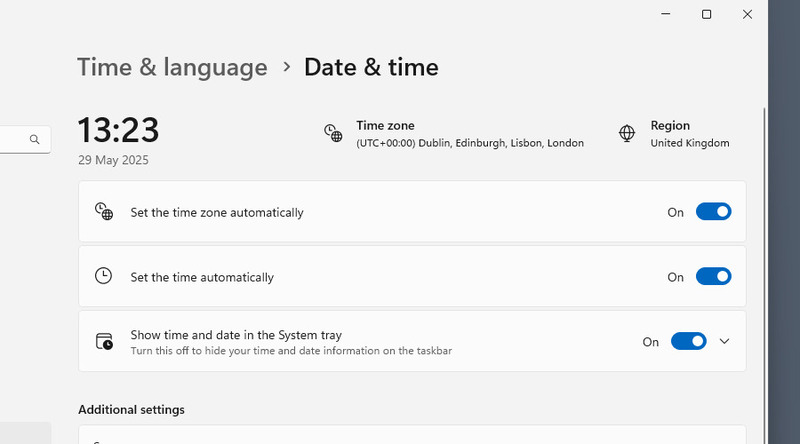
Toggle “Set the time zone automatically” and “Set the time automatically”.
-
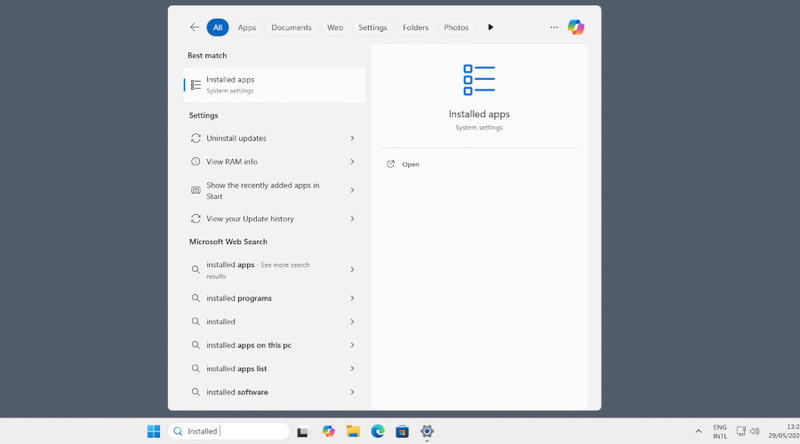
Now it’s time to reinstall AnyDesk. Type “Installed” into the Search Bar and go to “Installed apps”.
-
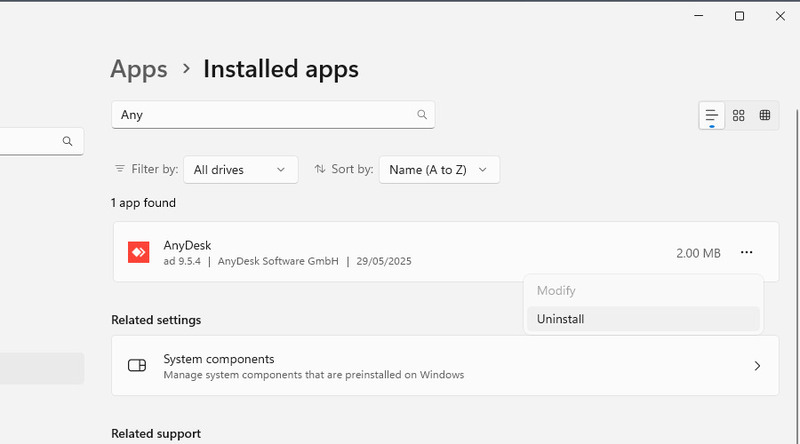
Find AnyDesk and click the “…” button next to the app. Press “Uninstall”.
-
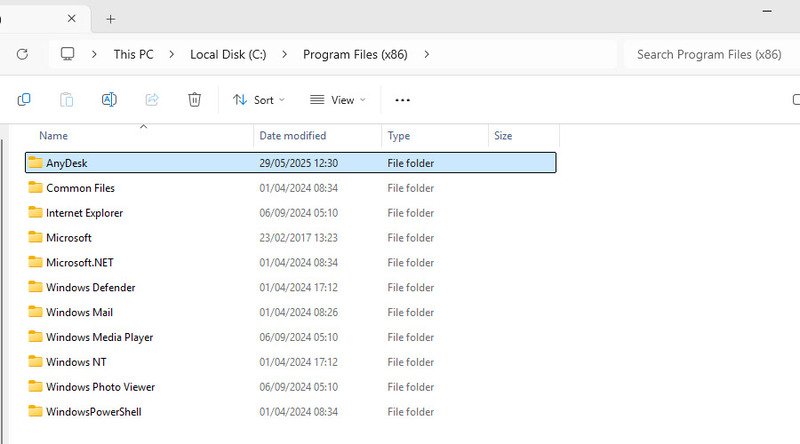
Check if the app was uninstalled properly. Go to your installation location (by default, it’s C:/Program Files x86) and delete the AnyDesk folder.
-
Re-download a new installer and install the app.
Antivirus Exception
An antivirus may be the reason for AnyDesk not working, by blocking AnyDesk’s access to its own files or the network. If you trust the application, you can add it to the exception list of your antivirus. We’ll show how to do it in Windows Defender, the antivirus that comes pre-installed on Windows 10 and 11, but the procedure varies between different antivirus software.
-
Open Windows Security from the search bar.
-
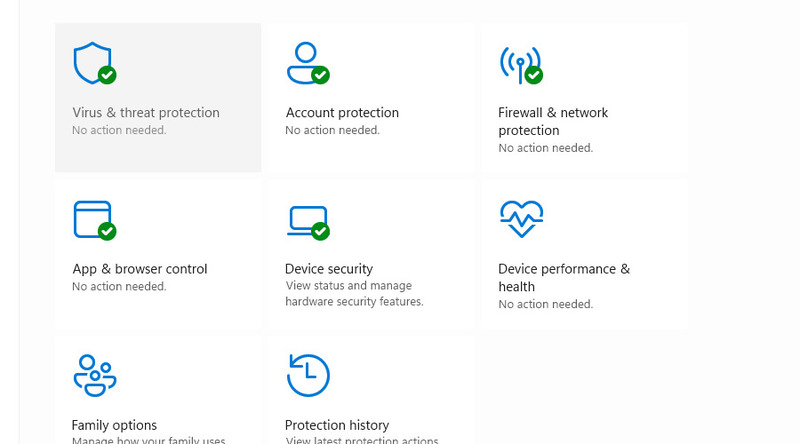
Go to “Virus & threat protection”.
-
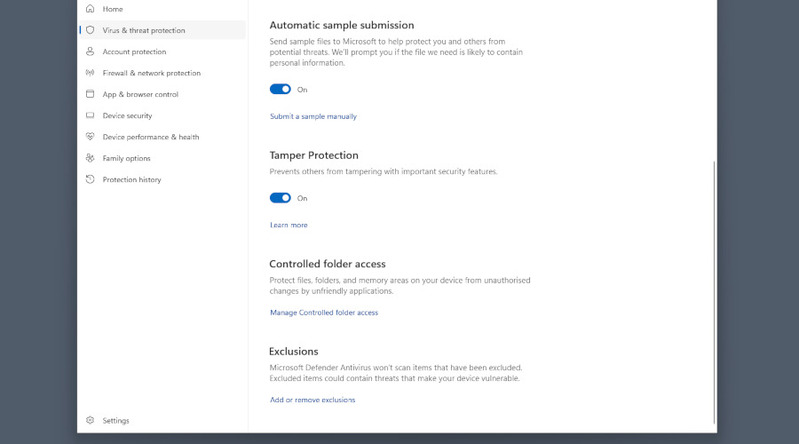
Scroll down until you find “Exclusions”.
-
Select “Add an exclusion” > “Folder”, and locate the AnyDesk folder in Program Files (x86).
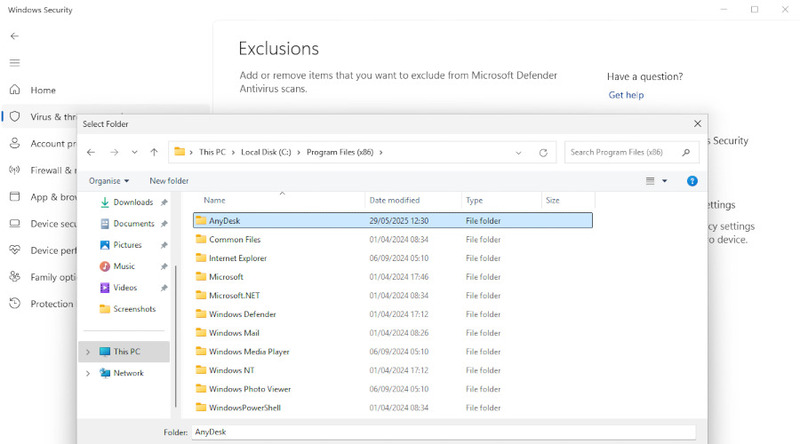
If you need to, the exception can be removed from the same menu.